Knowledge Base
Categories: Powered by Network Solutions
Powered By Network Solutions: WebsiteBuilder - Adding an Instagram Gallery
We have updated the Instagram Gallery element. This option is available for Legacy WebsiteBuilder only. Follow the steps on how you can integrate your Instagram gallery into your website.
Adding an Instagram Gallery:
- Log in to your account via https://www.networksolutions.com/my-account/login.
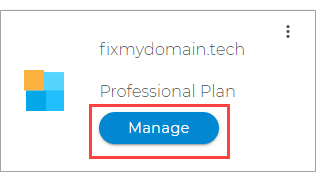
- Click Hosting on the left menu, then click the MANAGE button next to the WebsiteBuilder plan you would like to update.

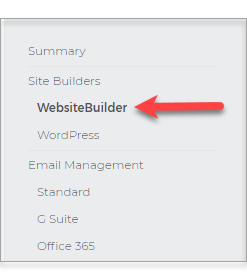
- On the left pane, click on WebsiteBuilder.
- To launch your Legacy WebsiteBuilder Editor, click Manage.
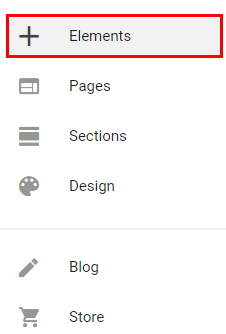
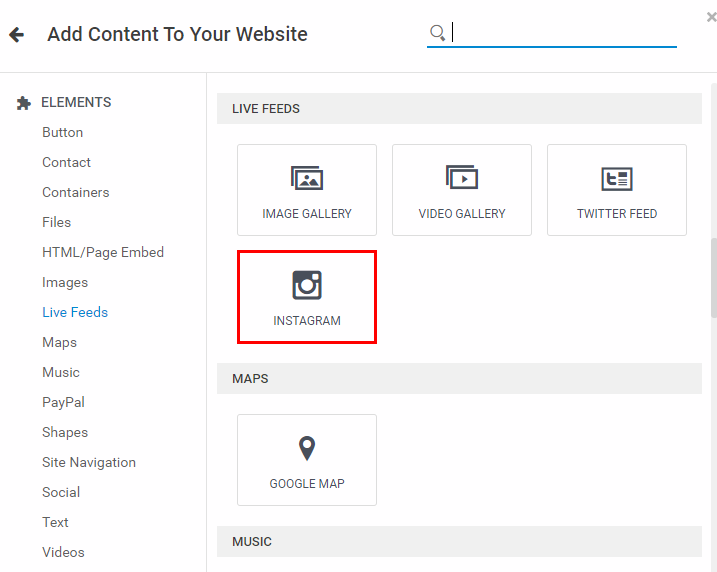
- Once inside the Editor, choose Elements from the left options.
- Look or search for Live Feeds.
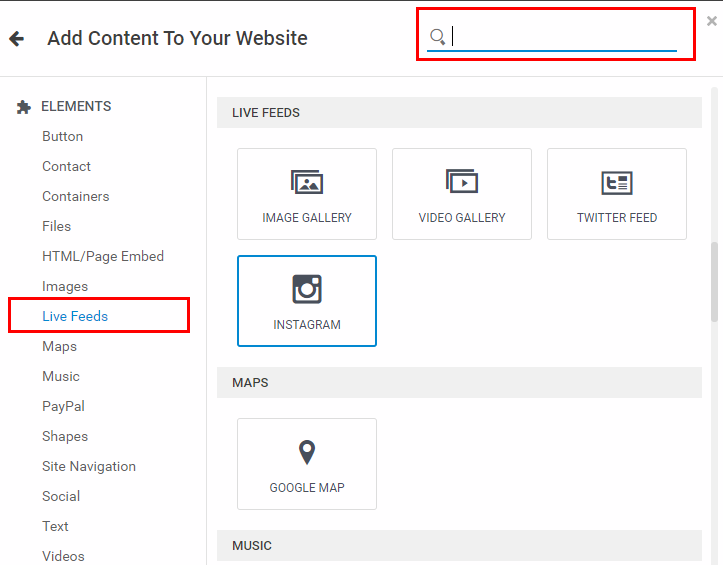
- Under the same element category, choose Instagram and place it in your desired spot.
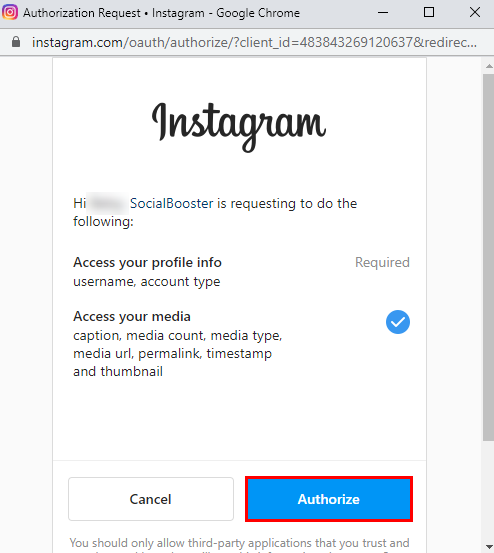
- A pop-up screen will open, prompting you to log in and authorize the Instagram Gallery. Select Authorize to continue.
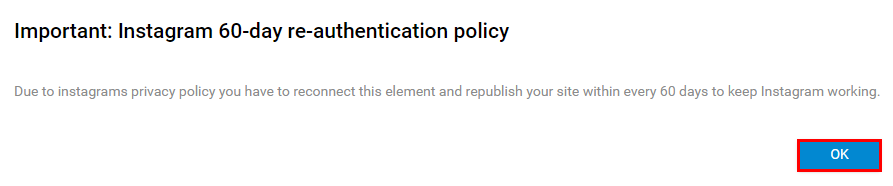
- Click on OK to confirm the notice about the Instagram 60-day Re-authentication Policy.
Refreshing your Instagram link - 2020 Privacy Policy Update
Instagram updated its privacy policy which means that every connection with Instagram needs to be refreshed every 60 days. For ease, we have added a count down to your element that shows how long until the reconnection must be made.
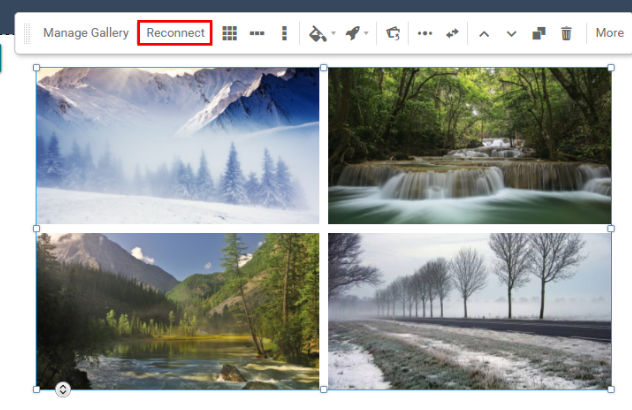
- Once inside the Editor, select the Instagram Gallery.
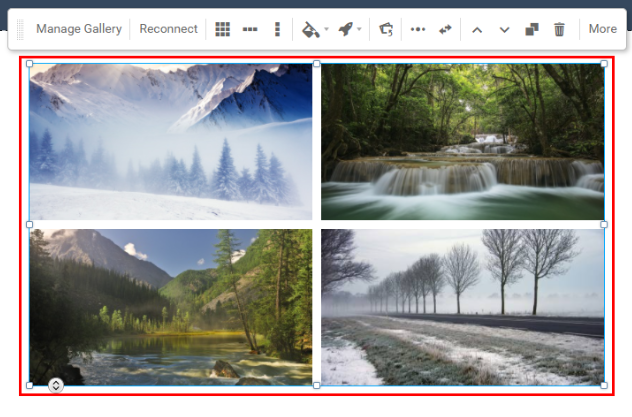
- Then hit Reconnect in the white toolbar.
- You will need to click Authorize again for the new connection.
- Republish your site to make changes live.
Get practical tips and product updates on LinkedIn.
Follow Network Solutions
Did you find this article helpful?