Knowledge Base
Categories: Powered by Network Solutions
Powered By Network Solutions: WebsiteBuilder - How to Add Multiple Business Locations
It is very beneficial to display your businesses' different locations, contact information, and business hours. By simply following these steps, you can add multiple business locations in your WebsiteBuilder editor.
Important: This feature is not available in the Legacy WebsiteBuilder Editor. The steps are for WebsiteBuilder Express Editor only.
- Log in to your account via https://www.networksolutions.com/my-account/login.
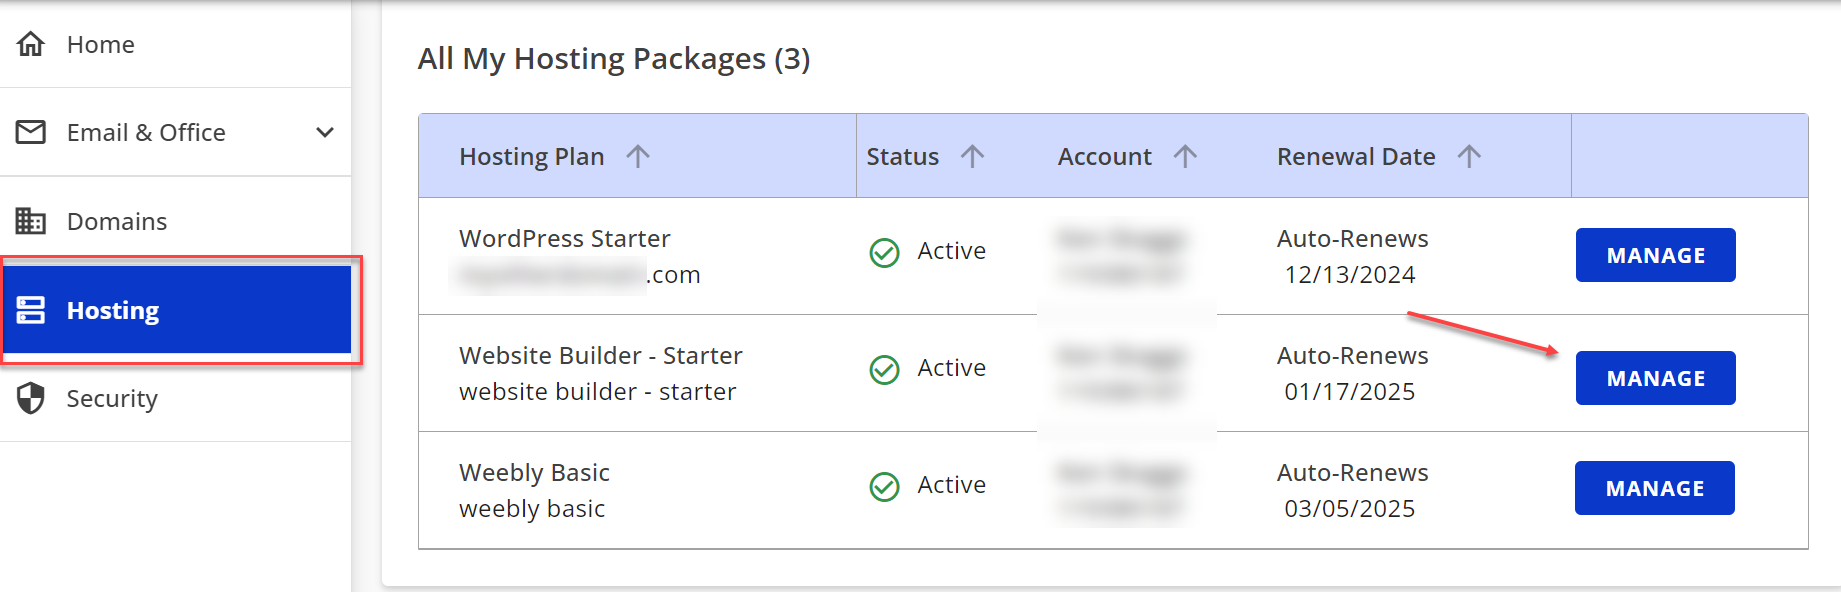
- Click Hosting on the left menu, then click the MANAGE button next to the WebsiteBuilder plan you would like to update.
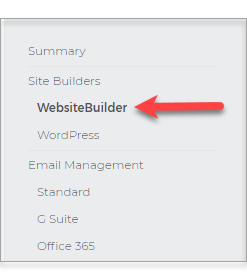
- On the left pane, click on WebsiteBuilder.
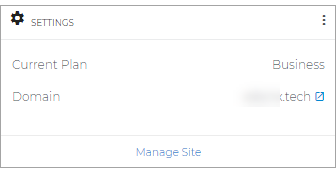
- To launch your WebsiteBuilder Editor, click Manage Site.
- On the top section of your editor, select Settings.

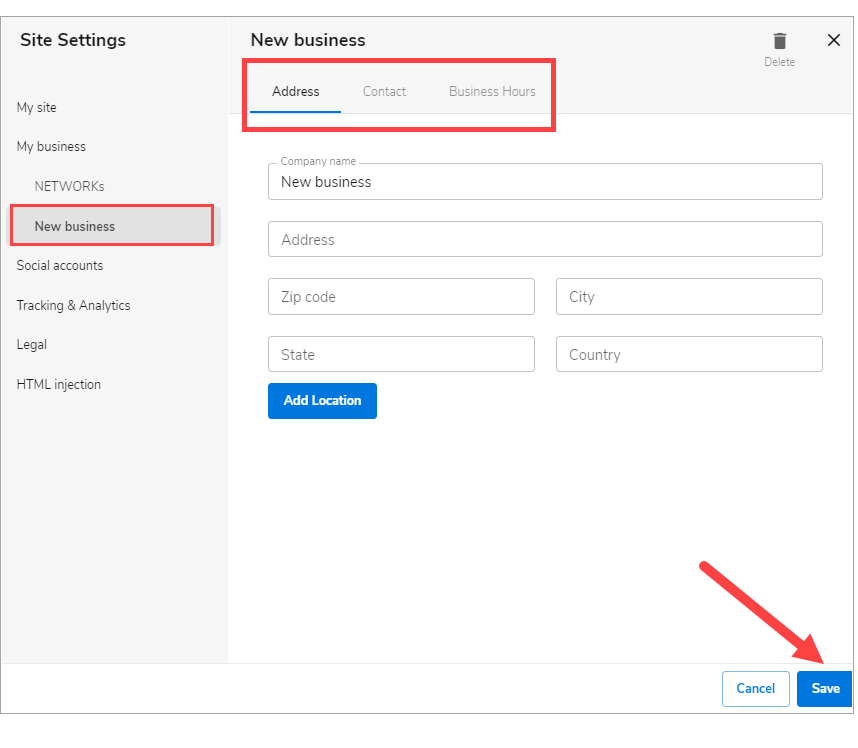
- Click My business, and inside this window, hit Add Location.

- A new business tag will appear on the left menu. Update the Address, Contact, and Business Hours depending on your business information. Make sure to hit Save. If you need to add more business to this window, repeat the sixth process.
- Once editing is all done, click on Save. If you want to make all changes to be updated on your live website, click Publish. Both these options are placed at the top of your editor.
Important: if you only save changes, they will not appear on the website unless you click Publish.

Get practical tips and product updates on LinkedIn.
Follow Network Solutions
Did you find this article helpful?