Knowledge Base
Categories: Powered by Network Solutions
Powered By Network Solutions: WebsiteBuilder - How to Setup Your Store
Once you have added an eCommerce Plan for your WebsiteBuilder, now is the time to get things on board. This article will walk you through the experience of setting up your WebsiteBuilder Store.
Getting Started
- Log in to your Account Manager via https://www.networksolutions.com/my-account/login.
- On the left side of the page, click Hosting.

- If you only have one hosting package, you will be taken directly to the Hosting control panel.
- If you have multiple hosting packages, you will need to select a package name and then click the MANAGE button to access the Hosting control panel.
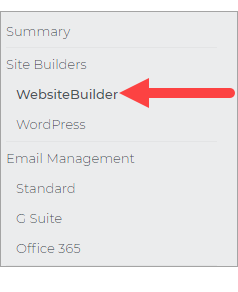
- On the left pane, click on WebsiteBuilder, under Site Builders.
- Click Manage.
For Legacy WebsiteBuilder For WebsiteBuilder Express 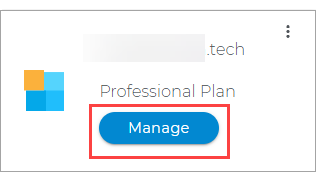
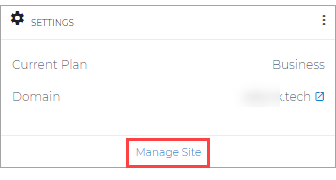
- Click Manage.
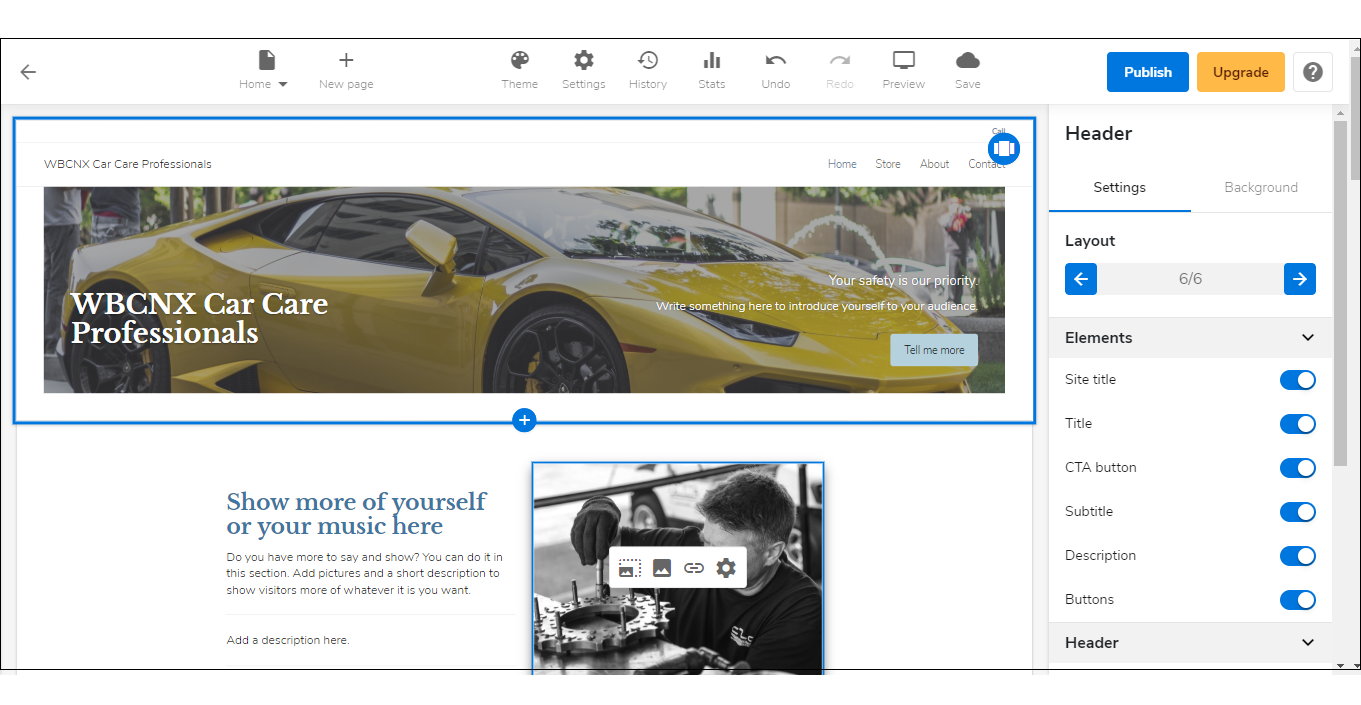
- This action will open your WebsiteBuilder screen on a new tab:
Legacy WebsiteBuilder looks like this: WebsiteBuilder Express looks like this: 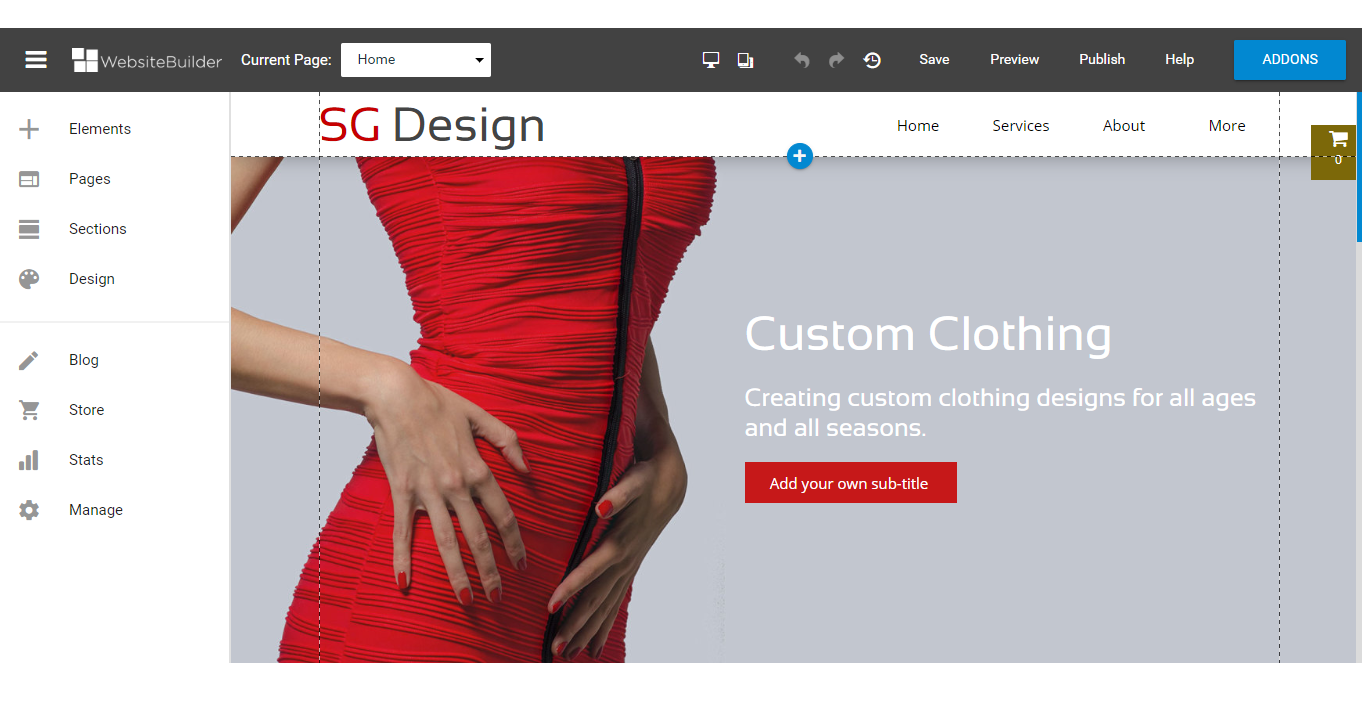
 Note: If you are unsure which type of WebsiteBuilder you are using, you may reach out to our customer service support to help you determine it.
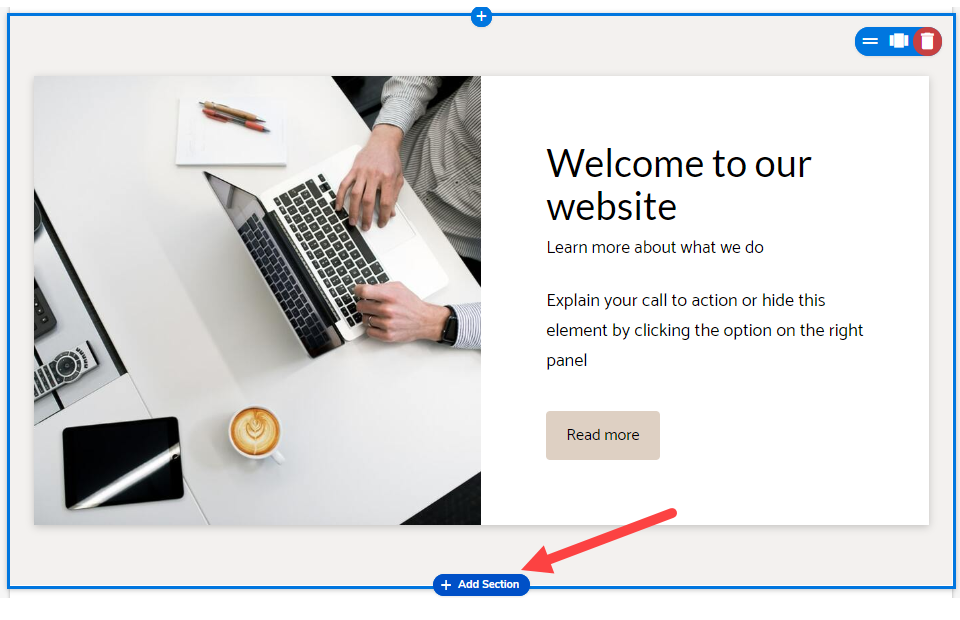
 - Analyze where you want to place the store section on your website, then hover your mouse to the plus sign that says Add Section.
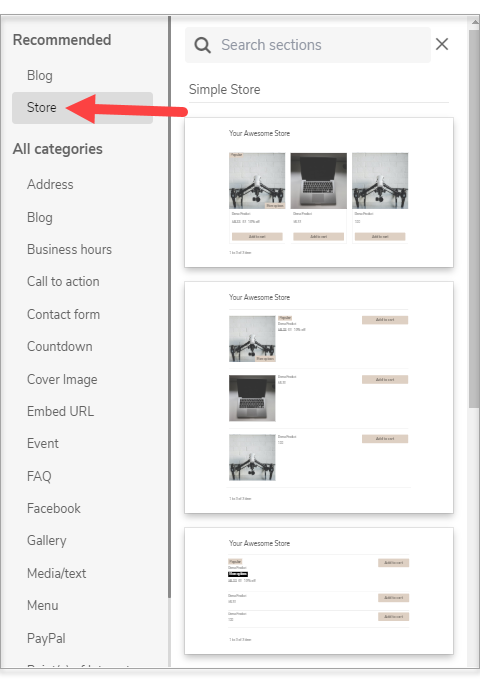
- A categorized list of sections will slide on the left, then click on Store under Recommended.
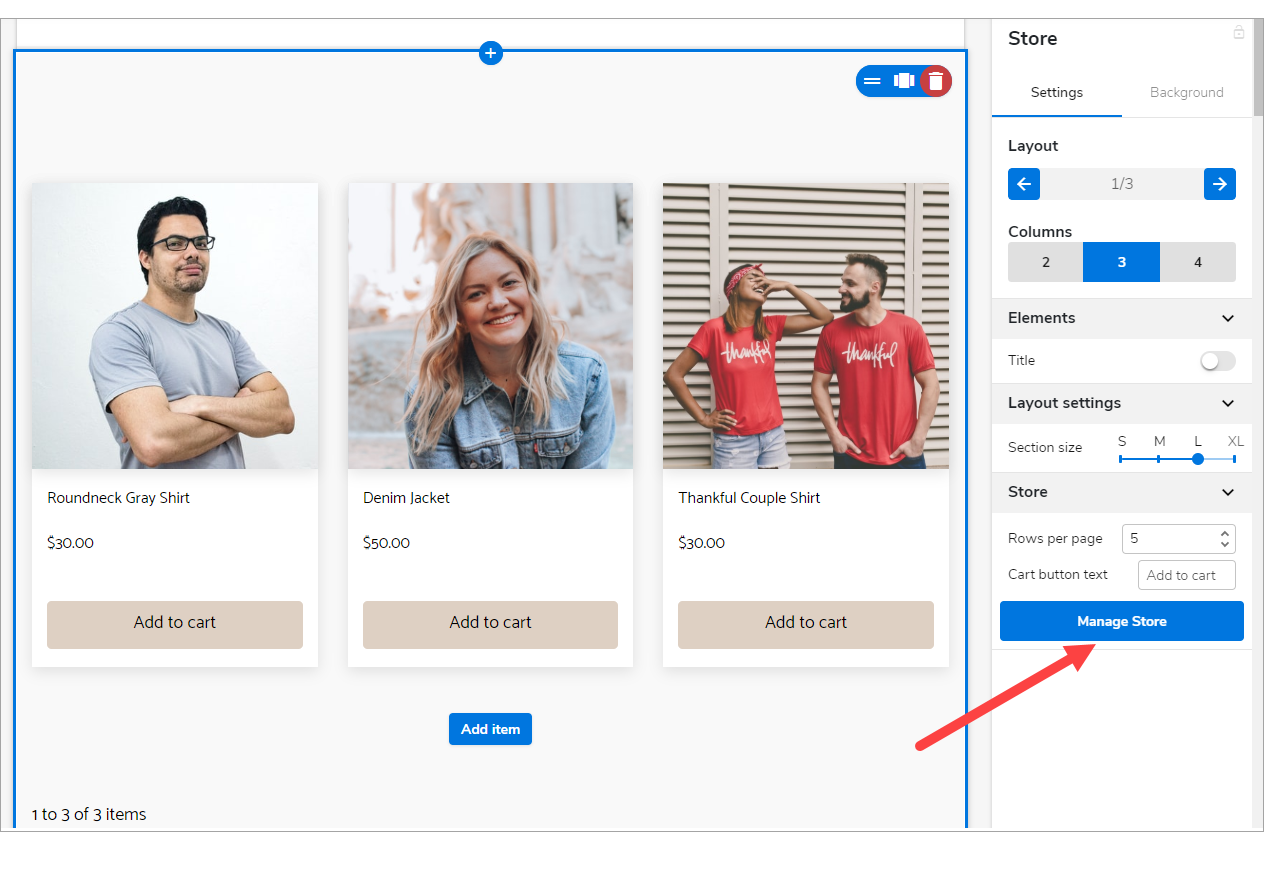
- Hover your mouse over sliding options on the right pane. Look for Manage Store.
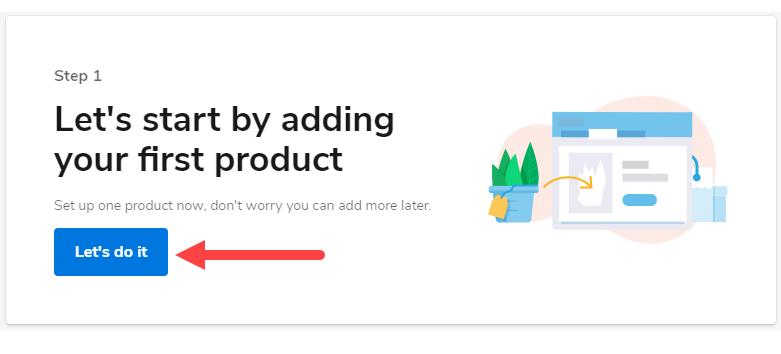
Step 1: Add a Product
- First, click Let's do it to add your first product.
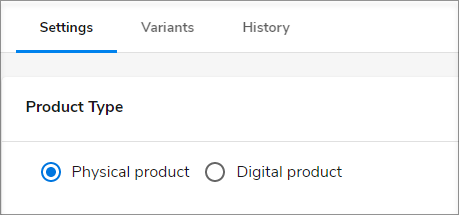
- Then, select the type of product you would like to add to your store.
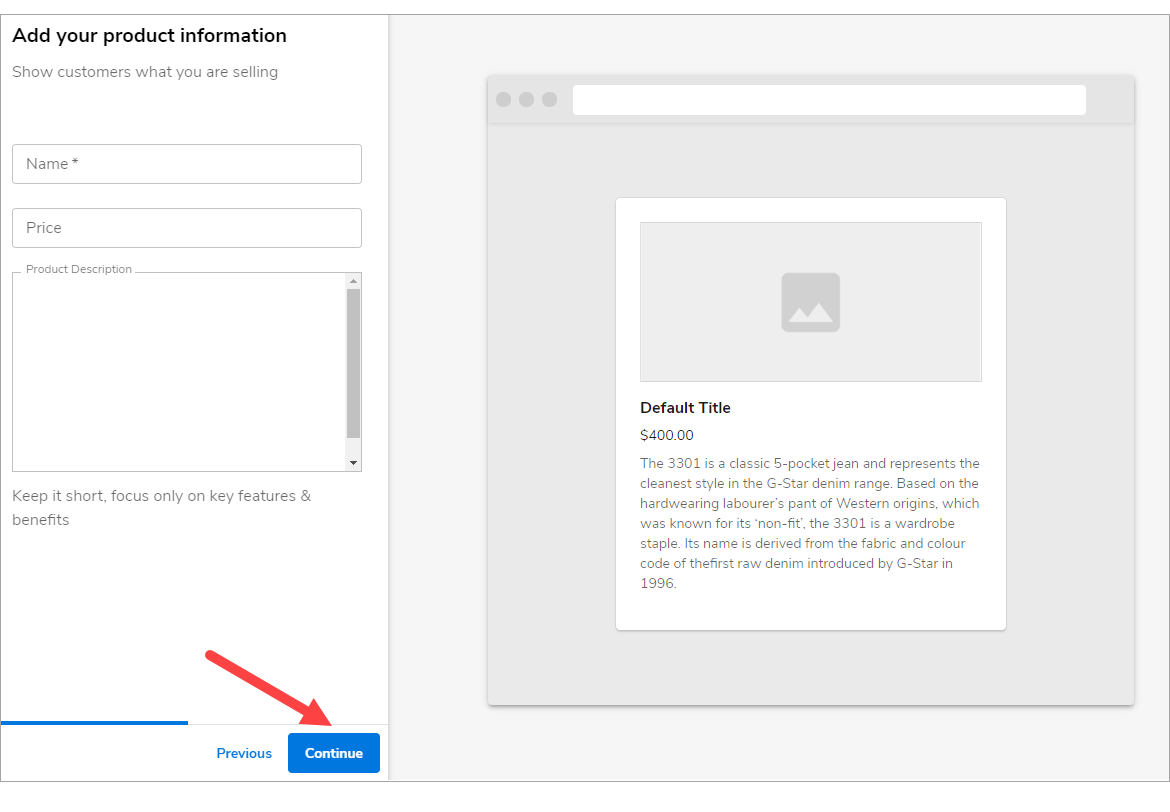
- Next, you will add in your Product Details. Remember to put enough details here to explain your product and encourage them to purchase. You can preview the details in the right-hand panel as you add them and click Continue when ready to proceed.
- Now to upload your product images. You can choose between Stock Photos or Uploading Your Own.

- Continue to the next screen to enter your shipping preferences. You can now choose between a Flat Rate and Free Shipping for each product you add. Note: You can also set up Integrated Shipping from the advanced settings when Managing Store.

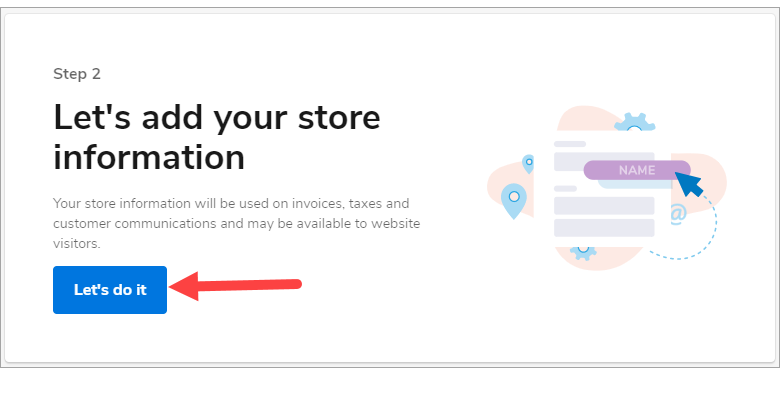
Step 2: Add Store Information
- To add your store information, click Let's do it.
- Enter your Business Information, then hit Continue.
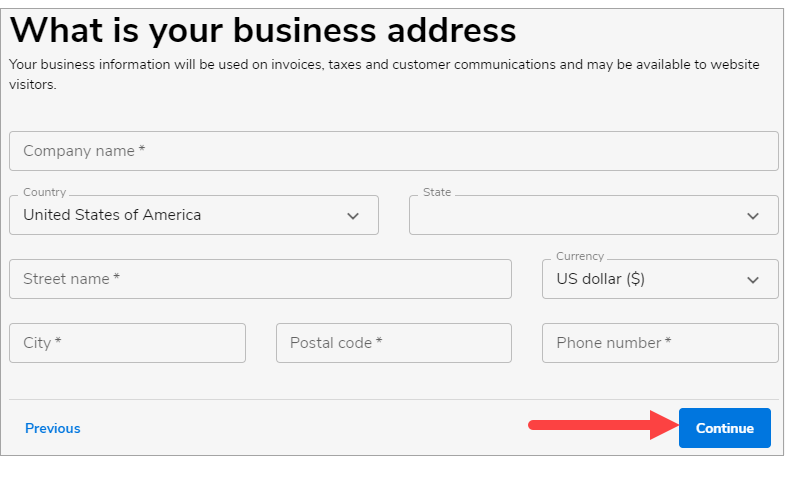
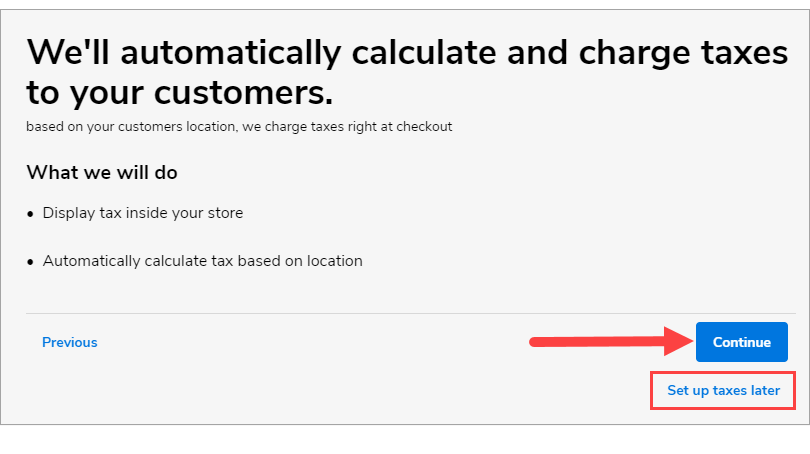
- You can select how you tax your customers. It can be done automatically by clicking Continue or Set up taxes later if you want to configure. "Setting up automatically" allows the store to calculate taxes based on location.
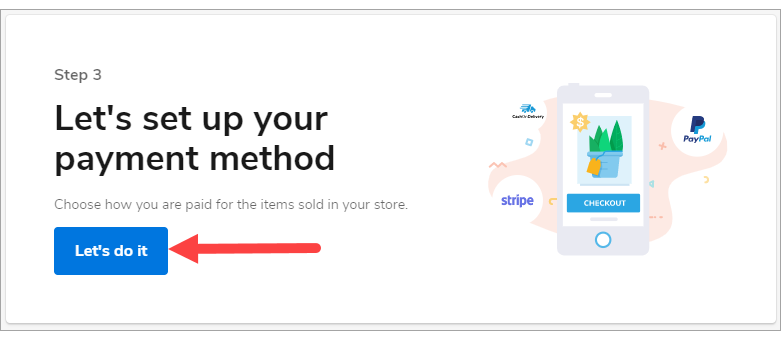
Step 3: Add Payment Method
- To set up your payment method, hit Let's do it.
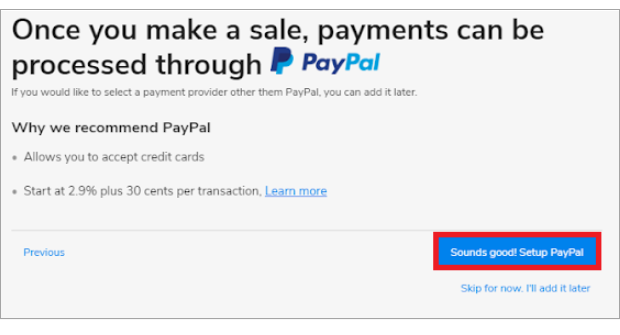
- Paypal is the recommended default option available during onboarding. Note: the store cannot be published in the editor until you set up a payment provider. You will see a pop-up in the editor that indicates that the store setup is not complete until a payment provider is selected.
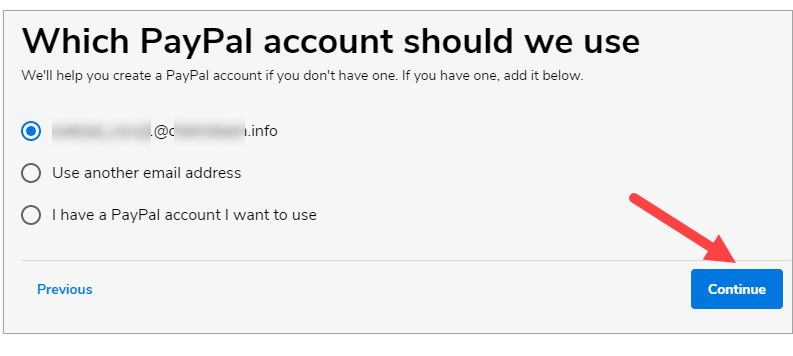
- Process your PayPal account by selecting either the email address on file, a different email or if you happen to have an existing Paypal account.
- Once correctly set up, you will navigate to a confirmation screen. Hit Continue to access the Store.
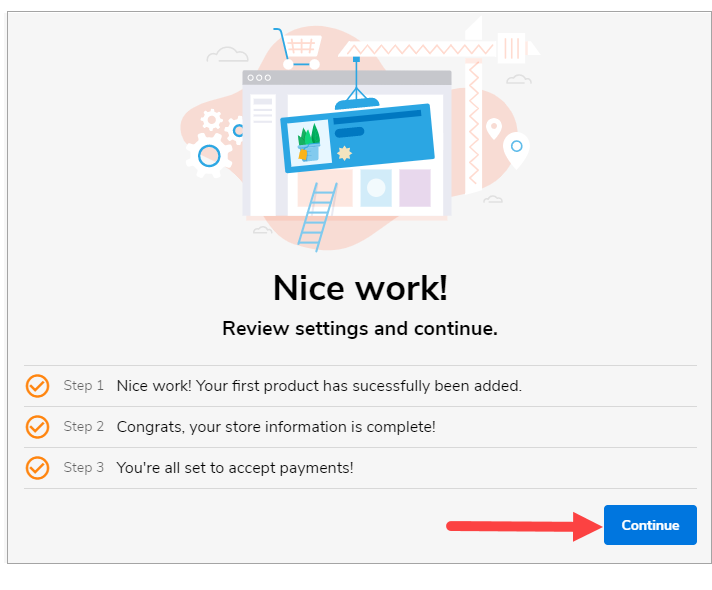
- Congratulations! You have set up your WebsiteBuilder Store.

Get practical tips and product updates on LinkedIn.
Follow Network Solutions
Did you find this article helpful?